
How to Paint Your Walls As an Amateur

As A Traveller, What Kind Of Product Would You Like The Airline To Offer That Would Appeal To You?
October 30, 2021
You may now locate the best Bandar Puteri Puchong condominium property that is currently available
November 17, 2021
It might seem like an impossible task, but painting walls can be done by amateurs. If you’re not intimidated by the thought of doing it yourself, it could save you a bundle on the cost. While painting doesn’t require much expertise or time-management skills, it can be very challenging. Take your time and make sure that you’re taking the time to thoroughly consider and practice your skills.
By following the right procedures, you can get the job done faster and more effectively.
Preparation
Before painting, remove all of the obstacles in the way. This will help prevent accidental paint splatters and give you more space to work with. Remove any large obstacles. If you can’t get rid of something, put it in the middle of the room and cover it thoroughly with plastic sheets.
Instructions
Step 1 – Apply the Primer
When painting a wall, you don’t necessarily need to apply a primer. This is especially true if you’re repainting a wall the same colour and the quality of the original paint is good.
When working with naked drywall paper, always apply a drywall primer. Professional painters frequently request that the paint retailer tint the primer to match the planned wall colour rather than leaving it as is. This cuts down on the amount of colour coatings required.
Step 2 – Mix the Paint
The paint will need to be mixed again unless it was mixed at the store a few hours before you started painting. Use a wooden paint stirring stick or an electric drill with a metal spiral power mixer attachment. Remember, thixotropic paints don’t usually need to be diluted. When more than 10% water is added to a substance, it loses its qualities and becomes entirely unfit for use. Only if you apply the paint with a spray gun or use surface priming material may you dilute the paint up to 20%. Simply mix the paint before applying it in most circumstances. You can look up thixotropic agent Malaysia if you’re having troubles finding out the paint that suits you.
Step 3 – Paint the Edges
By dipping a 2-inch trim brush gently into the paint can, wiping off the excess, and painting alongside and slightly on the painter’s tape, paint a 4-inch wide swath around the edges. Paint the borders approximately 4 inches inward as well if you’re utilising the cutting-in approach. Paint at least two coats with each method.
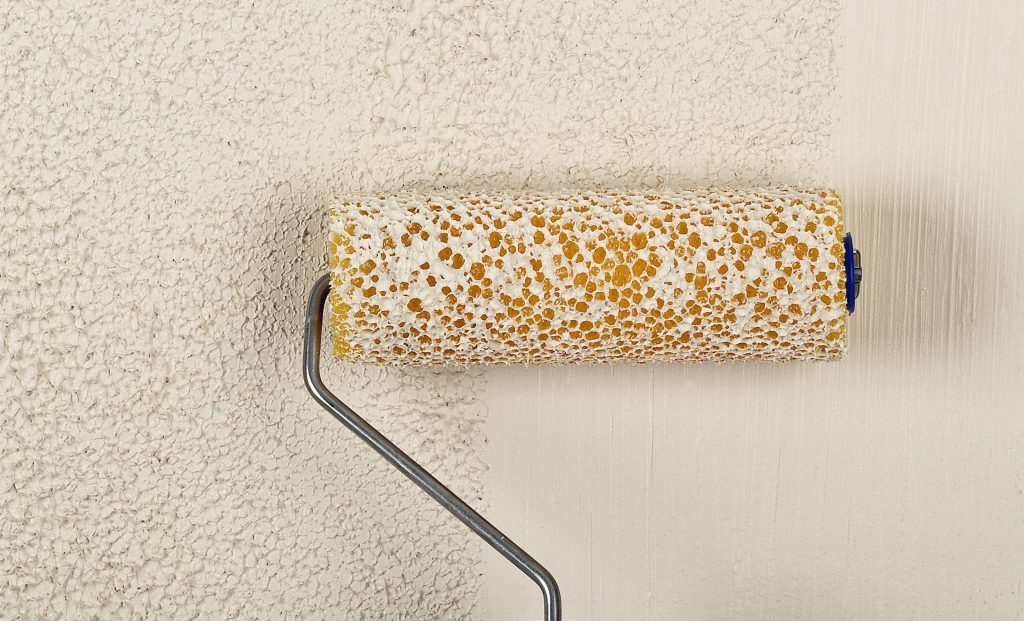
Step 4 – Roll the Paint
Now you’ll paint the inside of the wall with a roller. Dip the roller in the paint tray and roll it on the tray to completely squeeze off the excess paint. Place the roller on the wall and paint tiny parts of about 4 feet high by 4 feet wide in “W” shapes.
Finish one section before going on to the next. Maintain a moist edge by working swiftly. Make sure you’re constantly working from a moist edge to avoid streaking.
Step 5 – Let the Paint Dry and Paint a Second Coat
Allow at least a couple of hours for the wall to dry when it is completed. The longer the paint takes to cure, the glossier it is. In dry, warm circumstances, flat paint can be ready to refinish in as little as an hour. Repaint if necessary.
Step 6 – Clean up the Workplace
If you’re using acrylic-latex interior paint, clean your brush with warm water and a paint comb. Remove the drop cloths and hang them to dry outdoors on a fence. Plastic sheeting should be rolled up and thrown away. Removing the painter’s tape will have to wait until the next day. To cut the paint and make a crisp line, pull the tape straight back.